articles/
21-04-2025 / Kdenlive: The "Dumb Caveman's" Guide on How to Create Subtitles
Today, we'll be having a look at the basics of how to create in-video (internal/video-embedded) subtitles for videos in Kdenlive using my reliable yet particularly inefficient, completely manual approach that offers a lot of fine-grained control but takes a very long time.
Introduction
The reason I'm writing this article is because a friend asked me the other day for help manually putting subtitles in a video. He asked me what video editing software he should go for, I told him about Kdenlive, The KDE Non-LInear Video Editor. It's fairly easy to use, has quite a bit of functionality AND most importantly, is FOSS.
So to cut to the chase, you're going to want to get Kdenlive if you don't have it already. Just visit their website, they have downloads for Windows, Mac, Linux and BSD. They've got standard installable variants AND portable "self-contained" executables and AppImages. Take your pick, download whichever works for you and Install/Run the application.
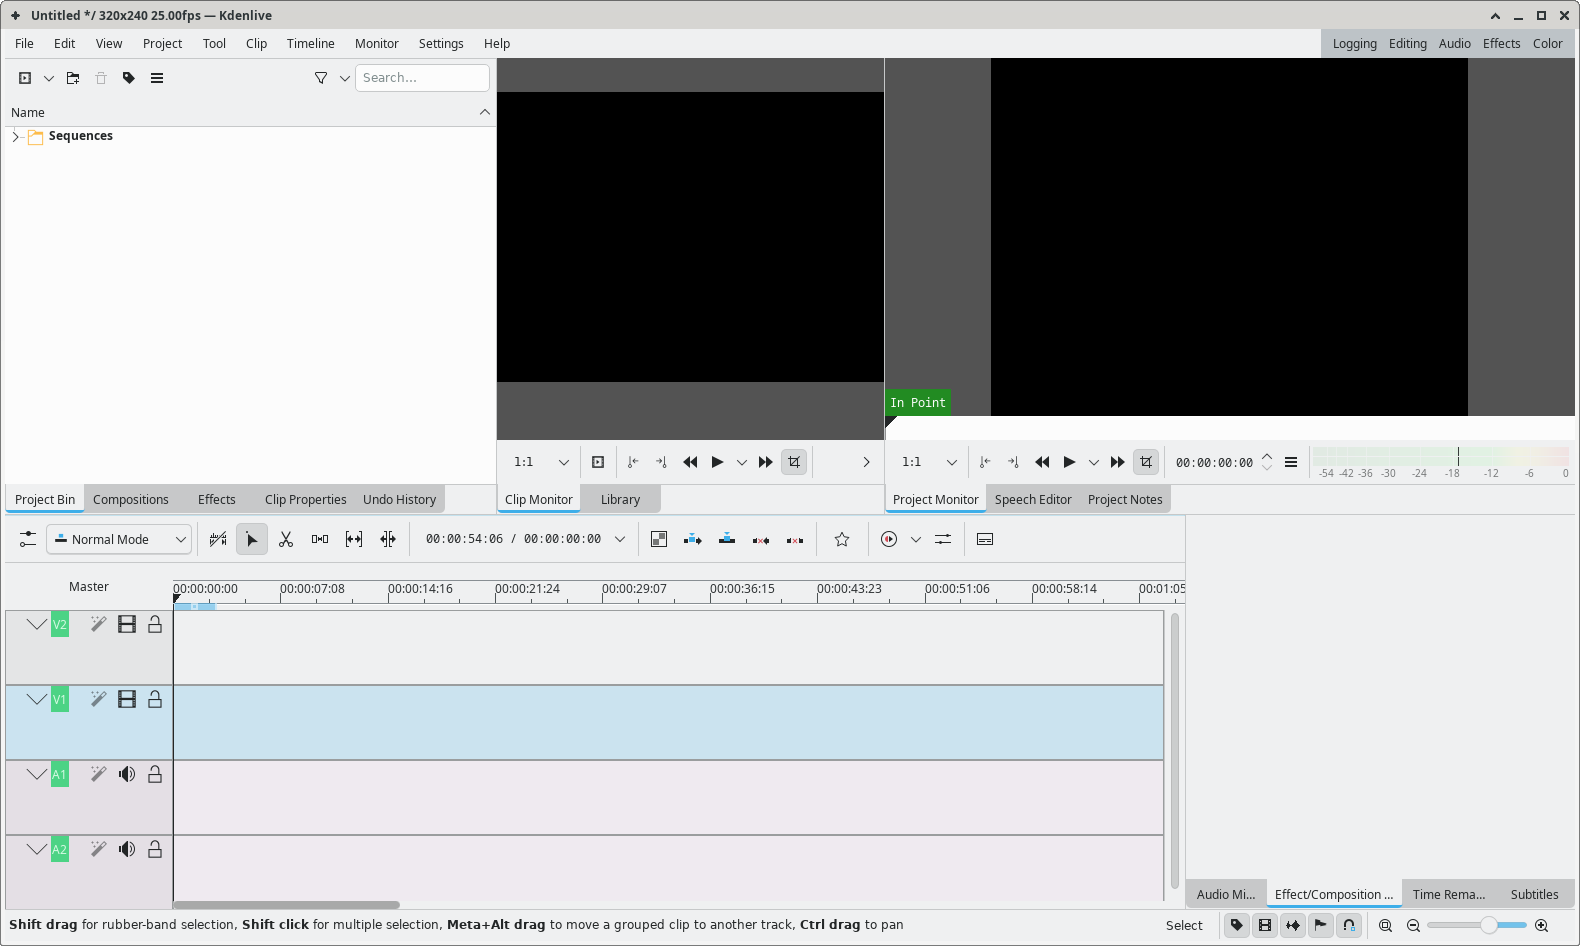
Project setup & Adding audio/video clips
Now that you've got Kdenlive running, it's time to configure some of your project settings. Head over to the Project menu at the top, scroll down to "Project Settings". That should open the Project Settings window, that allows you to configure your output resolution, framerate, number of audio/video tracks and so on. Usually it's a good idea to configure this before you add any media to the project.
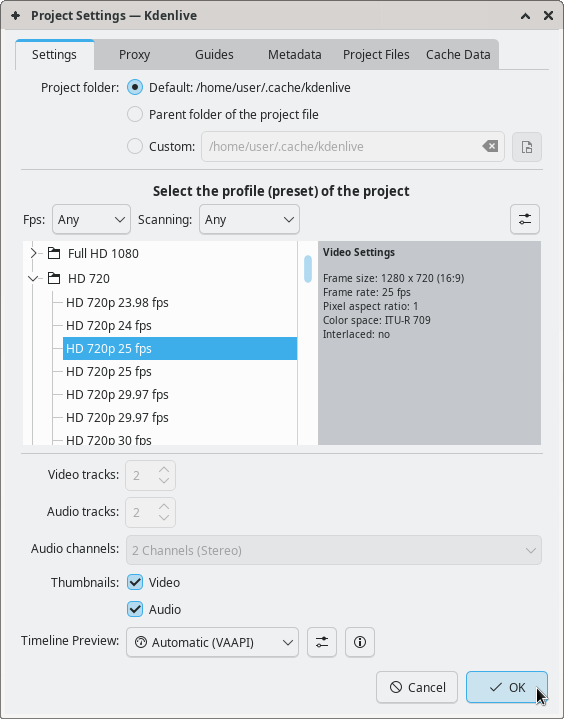
Once you've configured these parameters, you should save the project. Just hit Ctrl-S and specify how and where you want to save the file, it will be saved in the .kdenlive format, as a Kdenlive Project. Now to add audio/videos and other media to your project, right-click anywhere in the Project Bin (The empty space in the upper left where you see the "Sequences" entry). Click on Add Clip or Folder, navigate and select the file(s) you want to add.
Alternatively you can drag-drop items from the desktop or file explorer directly to the Project Bin. If you add a video that has a non-constant framerate, it will prompt you to transcode the video to a constant framerate of your choosing. You can preview items in the project bin in the first (upper center) display. Now that you have the files for your project, you can drag and drop them into the tracks in the lower part of the screen. If you did it right, you should be able to use the play controls in the output view, the second (upper right) display. (Generally, a video file will have a pre-grouped audio track along with it, even if the video doesn't have sound.)
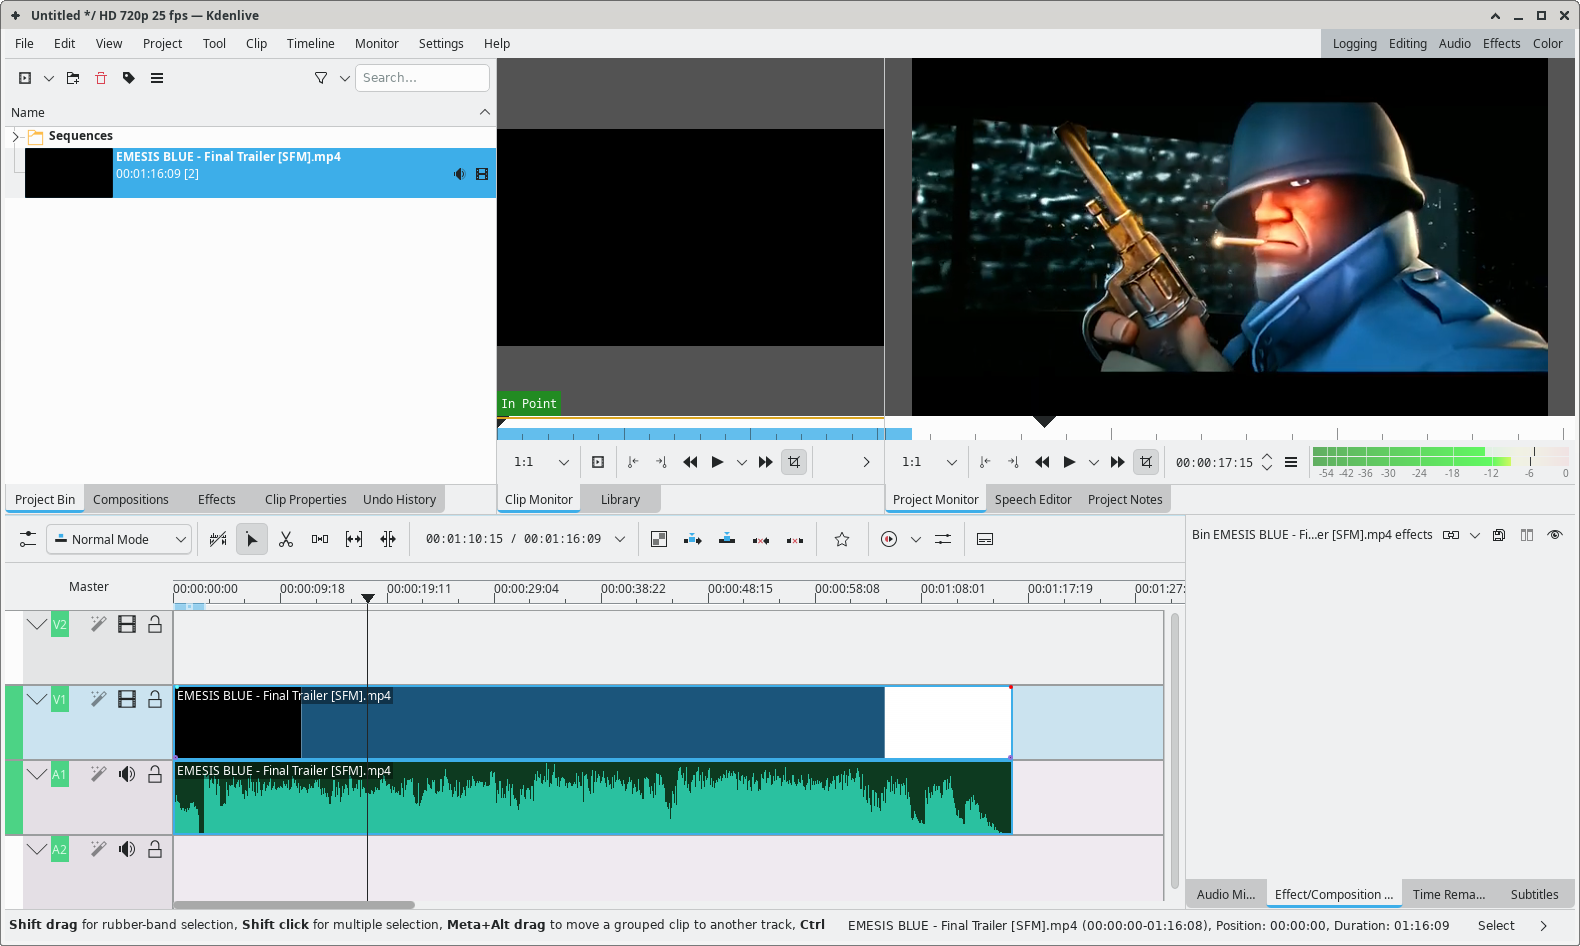
Congratulations on adding a video! You can add more media to the project, video, audio, images etc. You can add VFX/AFX to them aswell, you can even generate some clips (noise, TV static, test screens, frame counters, timers and so on). You can edit the duration, cut/paste clips and much more. There's quite a lot you can do. For this tutorial though, let's just see how to make some basic subtitles.
Creating Subtitles
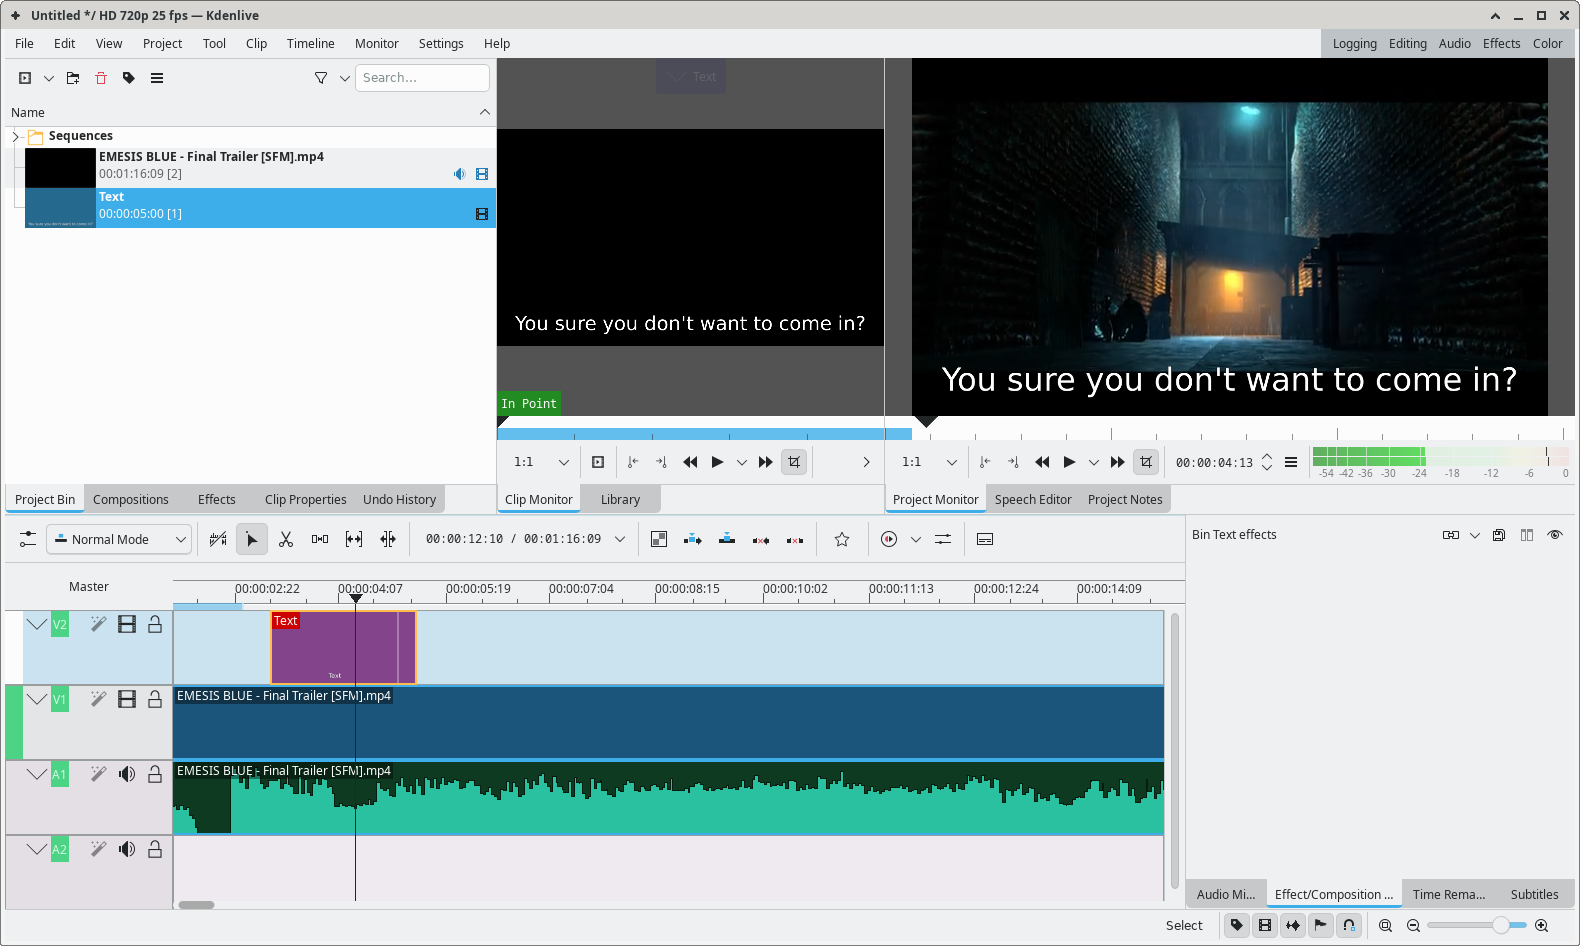
You're gonna want to create a "Title Clip" to use as a reference/template for all your subtitles in the video. Just go to the Project Bin, right-click and select "Add Title Clip".
(Here's a tip: I haven't done this in the example, but I would recommend making a separate folder for your subtitles. Just right-click in the Project Bin, select "Create Folder". Name the folder, right-click on it and select "Open Current Folder in New Bin". All your subtitles can be kept here, It will be cleaner to work with than having all your clips in one place.)
Anyways, once you create a new title clip, you should be greeted by the Title Clip window.

This allows you to create text titles (with images if desired), adjust timings, add animations and some effects (like typewriter text). Your objective at the moment is to just create a simple subtitle template that you can re-use in the video.
First, go to the Background tab in the right side pane, make sure the opacity is 0, so that the subtitle appears as an overlay on top of the original video. (This is confirmed if the background shows a gray checkered pattern in the Title Clip editor, as seen above.) Click on the T+ icon at the top left to create a new text box. Edit the font, style, color, outline etc. from the right side pane. Position the text box to your liking. Kdenlive helps you with positioning if you use the six buttons just above the right side pane. These will automatically align the text box/image/other object to the corresponding position.
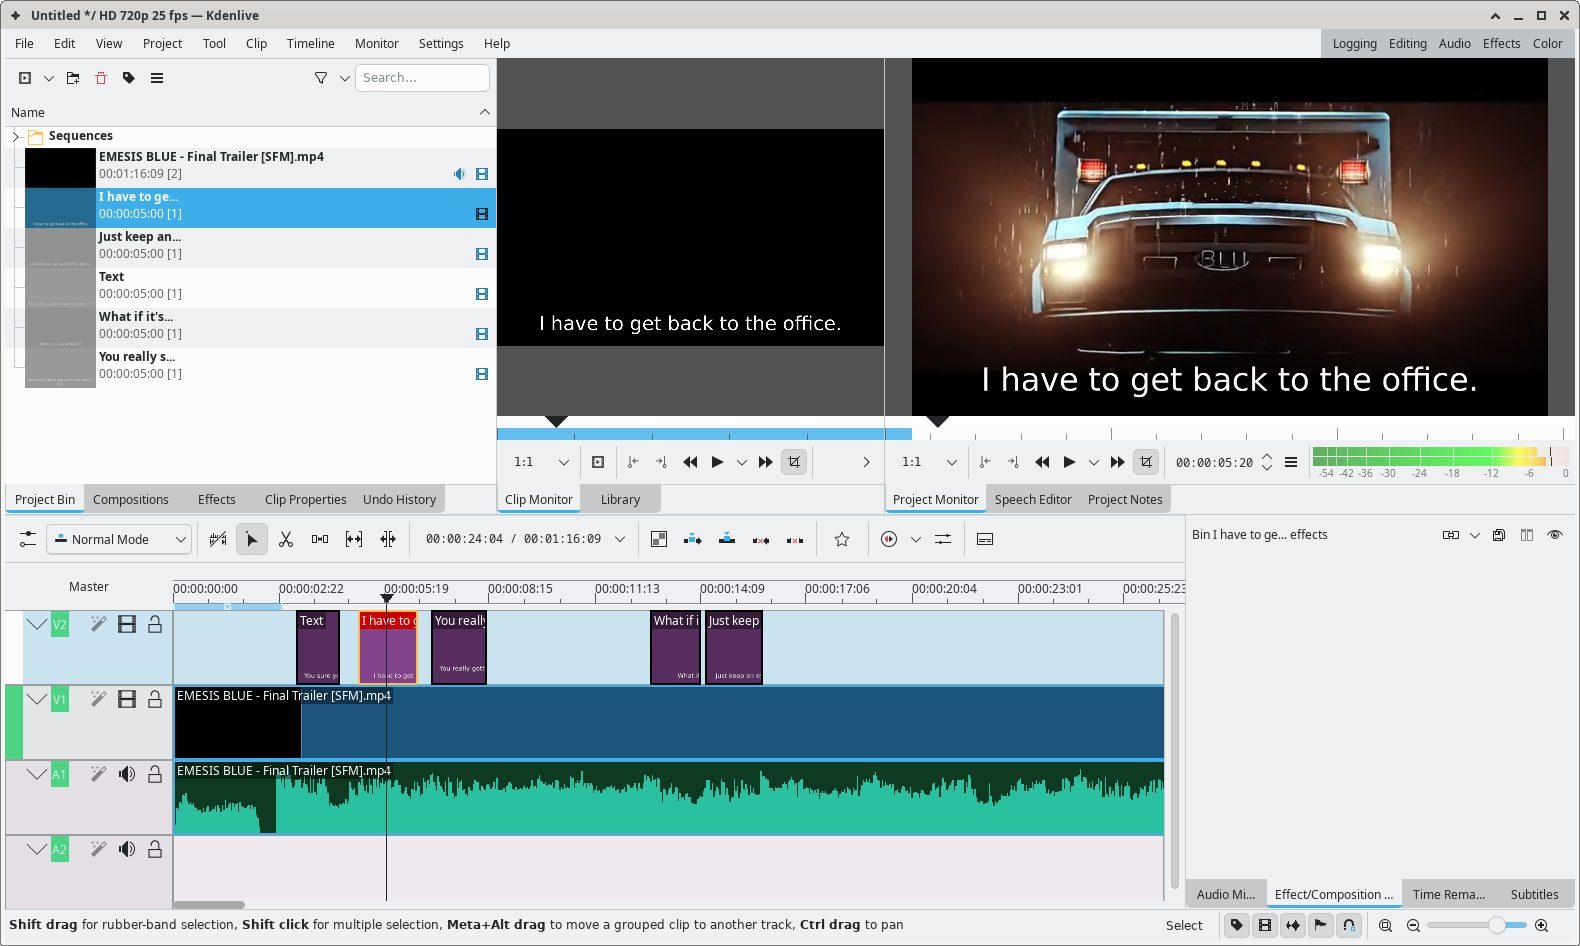
So for example, the ideal alignment for a subtitle would be centered horizontally and placed near the bottom of the screen. Clicking the horizontal-center align button and then the bottom align button (a few times depending on which reference line you want it on) should do the trick. You can choose to leave this with the default sample text OR assign your first lines of dialogue right now (by double-clicking on the text and typing it in.). After that's done, you can press "Create Title", and now you have your first subtitle. Drag and drop it onto your second video track (should be above the original video and it's edits so if you have more than 2 video tracks, go for the highest track available.)
Now how do you actually align the subtitles? As discussed earlier, you just drag the ending of the clip to change the duration, and you drag the clip itself to change the alignment. To get the subtitle to align with the audio, zoom in really close and try to position the subtitle to exactly the length of the dialogue.
Yes, this is a very tedious process. You do however get faster and better at it the more you do it, so keep practicing. Initially though, you're probably going to be very slow here. Is there an easier way to do this? Probably. If there is, I do not know about it, and I just choose to do it this way. It is a little easier though if you already have a transcript of the video or you manually write one down and use it for reference.
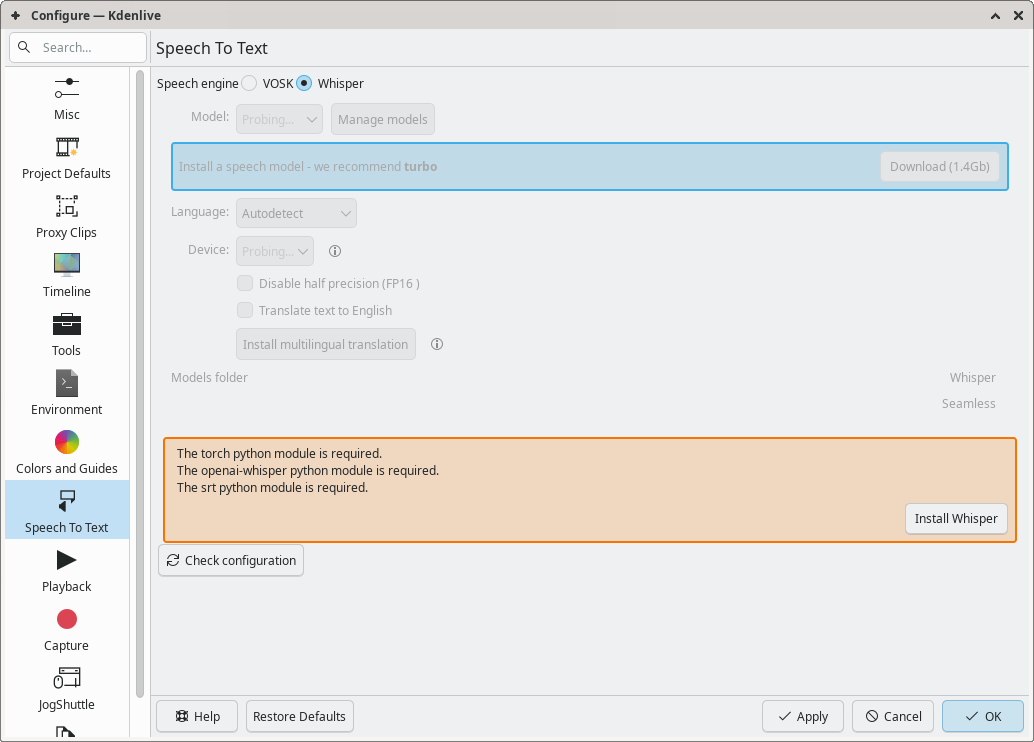
(Edit 21-04-2025: I've just checked, and apparently there is a way to go about this that is much faster but probably not as reliable. It involves downloading and installing a third party speech recognition model. I'm not too sure about the specifics at the moment, I'll try this some other time.)
Anyways, now that you got the first subtitle done, just right-click on it in the Project Bin, duplicate it, edit the text in the duplicated clip, save it, drop it in the highest video track, align it manually with the audio. That's basically it, Rinse and repeat until you're done. Don't forget to re-align the title text if it goes off-center. This could... take a while.
Exporting your video & Conclusion
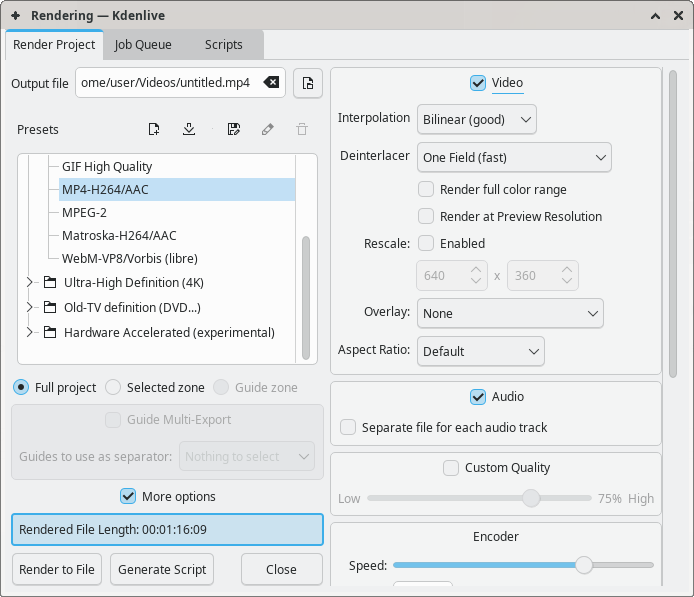
Once you've edited your video to your heart's content, Head over to the Project menu in the top left, click on Render.
This page lets you tweak a few more export options. (file format, interpolation, audio/video quality, scaling etc.) Specify your configuration and start rendering. The duration of the rendering process really depends on your hardware and the length/resolution/framerate of your video project.
Just wait for the rendering to complete and you're good to go. In conclusion, this was, what I call, the "dumb caveman" approach of writing subtitles. It offers unmatched reliability and extreme inefficiency. (You'll notice, both these factors are user-dependent.)
Honestly, I was not aware of Kdenlive's speech recognition capabilities when I began writing this article. (Maybe I really was the dumb caveman all along...) I'll definitely check that out at some point, maybe even make a guide on how to use it.